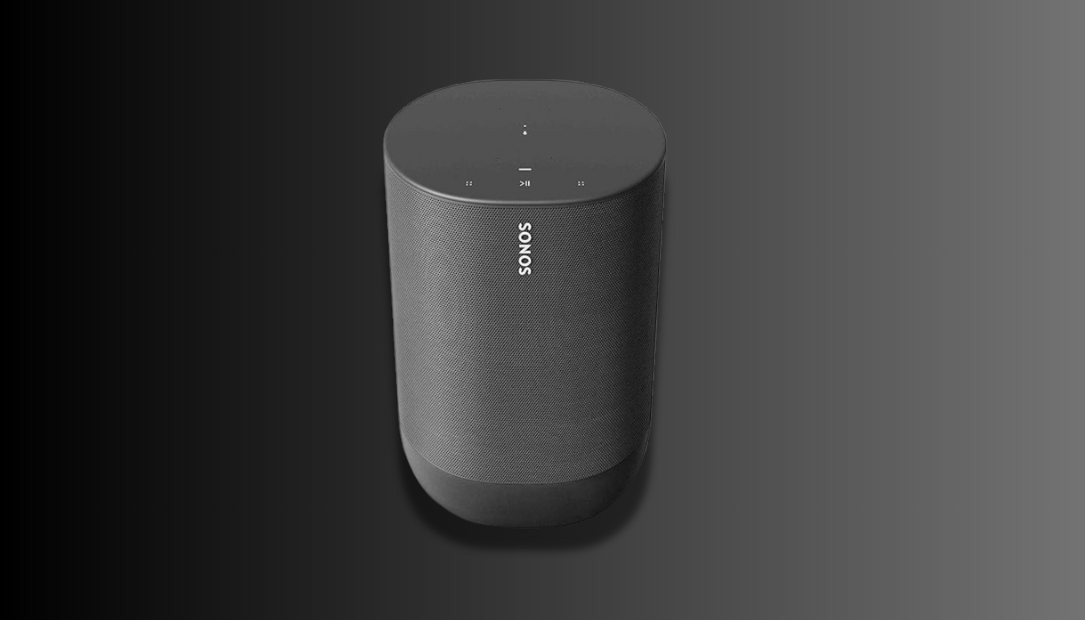
The Sonos Move is a powerhouse of portable sound. With its rich audio quality, seamless integration with smart assistants, and portability, it’s no wonder it’s a favorite among audiophiles. However, connecting your Sonos Move to Wi-Fi can sometimes feel tricky, especially if you’re unfamiliar with the process or have recently changed your router or network settings.

This guide will walk you through the steps to connect your Sonos Move to Wi-Fi while avoiding common setup pitfalls. Let’s get your Move ready for uninterrupted music streaming and smart functionality!
Why Connecting Your Sonos Move to Wi-Fi Is Important
The Sonos Move is designed to operate on Wi-Fi to deliver its full features. Here’s why setting it up correctly is crucial:
- Unlock Advanced Features: Wi-Fi connectivity enables features like multi-room audio, voice assistant integration, and lossless streaming through services like Spotify and Apple Music.
- Superior Sound Quality: When connected to Wi-Fi, the Move can stream higher-quality audio than Bluetooth.
- Seamless Updates: Firmware updates that improve performance and add new features require a Wi-Fi connection.
- Hands-Free Control: Wi-Fi allows integration with Alexa or Google Assistant, letting you control your device with voice commands.
- Multi-Device Synchronization: Only on Wi-Fi can the Sonos Move sync with other Sonos devices for a unified listening experience across rooms.
Preparing Your Sonos Move for Wi-Fi Connection
Before diving into the setup, make sure you have the following:
- A Compatible Wi-Fi Network: Sonos Move supports 2.4GHz and 5GHz bands. Ensure your router is set up to broadcast on these frequencies.
- The Sonos App: Download the latest version of the Sonos app from the Apple App Store or Google Play Store.
- Your Wi-Fi Credentials: Have your network name (SSID) and password ready.
Step-by-Step Guide to Connect Sonos Move to Wi-Fi
Follow these simple steps to connect your Sonos Move to Wi-Fi:
1. Power On the Sonos Move
Ensure the Move is charged and press the power button on the back. The LED indicator should light up.
2. Place the Move on the Charging Base
Although the Sonos Move can function off the base, placing it on the charger during setup ensures stability and maintains its charge.
3. Open the Sonos App
Launch the Sonos app on your smartphone or tablet. Ensure your device is connected to the same Wi-Fi network you wish to use for the Move.
4. Add a New Device
- In the Sonos app, tap on the Settings icon in the bottom right corner.
- Select System, then tap Add Product.
- Follow the on-screen prompts.
5. Connect to Wi-Fi
The app will guide you through connecting the Move to your Wi-Fi network. Enter your network name and password when prompted.
6. Test the Connection
Once the Move is connected, play some music or ask your preferred voice assistant a question to confirm the connection is stable.
Troubleshooting Common Wi-Fi Connection Issues
If your Sonos Move isn’t connecting to Wi-Fi, don’t worry. Here are some common problems and their solutions:
1. Issue: Incorrect Wi-Fi Credentials
Solution: Double-check your network name and password. Typos are a common culprit.
2. Issue: Unsupported Network Band
Solution: Ensure your router broadcasts on a compatible band (2.4GHz or 5GHz). If your router is dual-band, try switching to the other band.
3. Issue: Weak Wi-Fi Signal
Solution: Place your Sonos Move closer to the router during setup. Consider using a Wi-Fi extender if signal strength is an ongoing issue.
4. Issue: Outdated Sonos App
Solution: Update the Sonos app to the latest version. An outdated app can lead to compatibility issues.
5. Issue: Router Configuration Problems
Solution: Restart your router and modem. If the issue persists, check the router settings to ensure no firewall or parental controls are blocking the connection.
Using Your Sonos Move After Connecting to Wi-Fi
Once your Sonos Move is connected to Wi-Fi, you can take full advantage of its features:
- Stream Music: Access a wide variety of music streaming services directly through the Sonos app.
- Voice Control: Enable Alexa or Google Assistant for hands-free control of your playlists.
- Multi-Room Audio: Sync your Sonos Move with other Sonos devices for a harmonious audio experience throughout your home.
- Automatic Updates: Receive regular firmware updates that enhance functionality and improve performance.
Pro Tips for Maintaining a Reliable Wi-Fi Connection
To ensure your Sonos Move stays connected without interruptions:
- Optimize Router Placement: Keep your router in a central location to ensure even coverage throughout your home.
- Use a Dedicated Network: If possible, dedicate a network to smart devices like your Sonos Move to reduce traffic and potential interference.
- Update Firmware: Regularly check for and install firmware updates for your router and Sonos Move.
- Monitor Network Traffic: Avoid bandwidth-heavy activities like 4K streaming or large downloads during critical listening times.
Final Thoughts
The Sonos Move is an impressive device that becomes even more powerful when properly connected to Wi-Fi. By following the steps outlined in this guide, you can ensure a seamless setup and enjoy all the benefits of this portable smart speaker.
Whether you’re streaming your favorite playlists, syncing with other Sonos speakers, or using voice commands, the Move delivers exceptional performance that complements any audio setup.
With this comprehensive guide, you’re now ready to connect your Sonos Move to Wi-Fi and make the most of its capabilities. Enjoy the rich sound, smart features, and portability that the Move brings to your home audio experience!
Leave a Reply