The iPhone assistive touch is a very valuable feature that is built in on your iPhone 14 Plus, which gives users an on-screen menu for easy navigation and to access some essential functions.
This feature is especially important for individuals who have difficulty in using the hardware buttons or gestures.
Assistive Touch offers customizable on-screen controls, And Enabling Assistive can significantly enhance the usability and accessibility of your iPhone, making it easier to perform a wide range of tasks.
However, this guide will put you through the processes of how to enable assistive touch on the iPhone 14 Plus. But first, let’s have a general understanding of what Assistive touch is all about.
What is Assistive Touch on iPhone 14 Plus
The Assistive Touch on Apple devices is a built-in feature that allows users to operate their IOS device, without the need to press buttons on their devices.
It allows users to perform actions that would typically require physical buttons or complex gestures through on-screen touch controls, whether you want to take a screenshot, open a recent app, or even lock your iPhone, the Assistive Touch feature can handle the task.
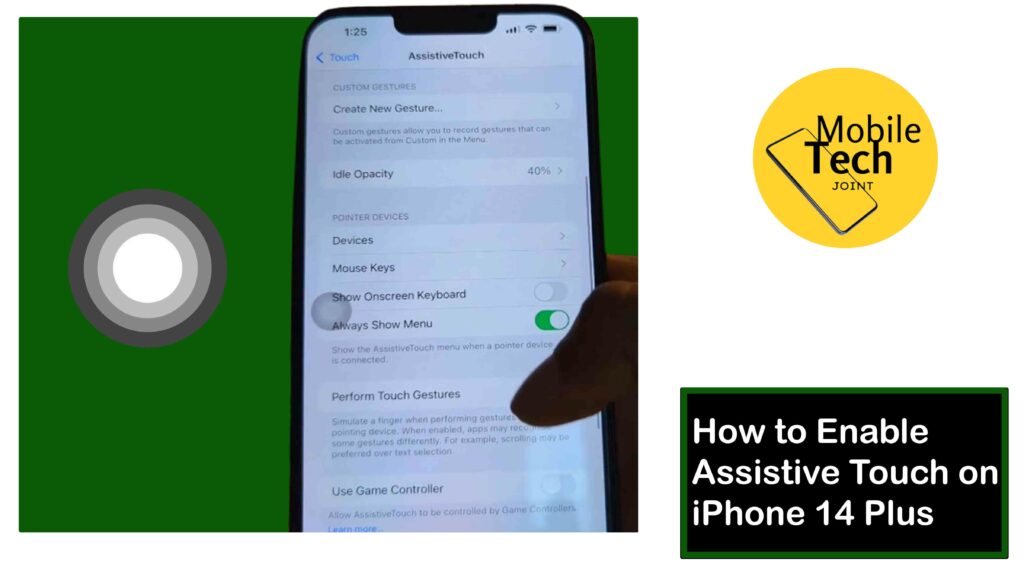
How to Enable Assistive Touch on iPhone 14 Plus
Below is the step-by-step guide on how to enable Assistive Touch on iPhone 14 Plus.
- First, unlock your device, and navigate to Settings on your device home screen.
- Next, scroll down and look for the Accessibility option, click on it.
- After that, in the Accessibility settings, look for an option labeled Touch, and click on it.
- Then, to enable the Assistive Touch, tap on it and toggle the switch to turn it On or Off.
- As soon as you enable it, a floating on-screen button will appear, which you can move any side of your screen for your convenience. This button gives you quick access to various functions and controls which is the Assistive Touch.
How to Customize Assistive Touch on iPhone 14 Plus
There are different ways to customize your Assistive touch, For example,
You can customize single-tap, double-tap, long press, and 3D Touch actions by assigning them to different functions in the Assistive touch.
You can also customize the top-level menu by adding or removing icons to access functions you use most frequently.
If you also have specific gestures you want to use regularly, you can create new custom gestures within the Assistive Touch settings.
Related: How to Access Storage on iPhone 14 Plus
The benefit of Enabling Assistive Touch on iPhone 14 Plus
The Assistive Touch provides essential support for users with physical disabilities, allowing them to navigate through their iPhone using gestures that may be easier for them to perform.
Users can configure the Assistive Touch menu to contain a variety of tasks, including volume control, screen rotation, screen locking, and more. This customization might make commonly used functions more accessible.
It gives users, access to Shortcuts, Assistive Touch can be used to access other accessibility features quickly, such as Voiceovers, Zoom, and Magnifier.
Conclusion
In all, enabling and customizing your Assistive Touch on your iPhone 14 Plus can greatly enhance your device’s accessibility. By exploring its various features and tailoring it to your needs, you can perform tasks more efficiently and comfortably.
Experiment with different functionalities to make the most of this versatile accessibility feature, ensuring a seamless and personalized user experience.
Is it Easy to Master Assistive Touch?
Absolutely! Enabling Assistive Touch on iPhone 14 Plus requires just a few steps in Settings. No technical background is needed, making it perfect for beginners.
How Long Does it Take to Setup Assistive Touch?
Quick Activation! Turning on Assistive Touch usually takes less than 2 minutes. You can customize it further later to fit your needs.
Why Use Assistive Touch?
Enhanced Control & Convenience! Assistive Touch offers an on-screen button for essential functions, replacing physical button usage and simplifying navigation, especially if the physical buttons are difficult to reach or use.
For more insights on this article, check out these video tips across our social platforms: