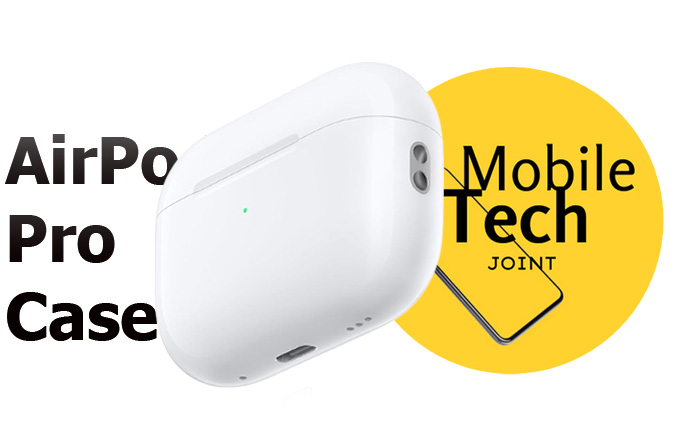
Keeping your AirPods Pro case clean is essential for maintaining both its appearance and performance. Fortunately, cleaning your AirPods Pro case is a straightforward process like every other Airpods models. In this guide, we’ll walk you through the steps to clean your AirPods Pro case effectively, ensuring it stays in top condition.

How to Clean AirPods Pro Case
Dirt and debris can accumulate in the case’s crevices and charging ports, potentially affecting the functionality of the case and the AirPods themselves.
Follow this detailed guide to clean your AirPods Pro case effectively without damaging it:
Step 1: Gather Your Cleaning Supplies
Before starting, make sure you have the right materials:
- A soft, lint-free cloth (like a microfiber cloth)
- Isopropyl alcohol (preferably 70% or higher)
- A soft-bristled brush or a new, dry toothbrush
- A toothpick or a small, non-metallic tool (for stubborn debris)
- Cotton swabs for reaching smaller areas
It’s important to avoid using harsh chemicals, abrasive materials, or excessive moisture, as these can damage your AirPods Pro case.
Step 2: Wipe Down the Exterior
Start by cleaning the outside of your AirPods Pro case.
- Lightly dampen the lint-free cloth with a small amount of isopropyl alcohol.
- Gently wipe down the outside surface of the case, removing any dirt, fingerprints, or smudges.
Avoid getting moisture in any of the charging ports or the hinge at the back of the case. If necessary, dry the case with a clean section of the cloth.
Step 3: Clean the Inside of the Case
Now that the outside is clean, it’s time to focus on the interior of the AirPods Pro case:
- Use a dry, soft-bristled brush or a toothbrush to gently loosen and remove any dirt or debris that may have accumulated around the edges of the case or in the charging slots.
- If any stubborn debris remains, carefully use a toothpick or a small, non-metallic tool to dislodge it. Be cautious to avoid scratching the case or damaging the charging connectors.
Step 4: Clean the Charging Port
The Lightning charging port at the bottom of the case can collect dust and lint, which may affect charging:
- Use a dry toothbrush or a small, soft brush to gently clean out the charging port.
- If the port appears especially dirty, you can very carefully use a toothpick to loosen any debris, but be cautious not to apply too much pressure, which could damage the internal contacts.
Step 5: Clean the Charging Contacts
The metal contacts inside the case, where your AirPods sit, can become dirty or accumulate sweat and skin oils, which can hinder the charging process:
- Lightly dampen a cotton swab with isopropyl alcohol, but make sure it’s not soaking wet.
- Gently wipe the contacts, allowing them to dry before placing your AirPods back inside.
Step 6: Dry the Case
Once you’ve finished cleaning both the inside and outside of the case, use a dry, lint-free cloth to wipe away any remaining moisture or dust.
- Ensure the case is completely dry before placing the AirPods back in or plugging it in to charge.
Step 7: Routine Maintenance
To keep your AirPods Pro case in optimal condition:
- Clean the case every few weeks, especially if you use it frequently or store it in pockets or bags where debris is likely to collect.
- Store the case in a clean, dry environment when not in use to minimize the amount of dirt it picks up.
Conclusion
Cleaning your AirPods Pro case regularly helps maintain its performance and extends its lifespan. By using the right tools and taking care to avoid moisture damage, you can keep your case looking pristine and ensure your AirPods are always charged and ready to use. Proper maintenance will also help prevent any issues with charging or connectivity caused by dirt or debris.
Also Check:
- How to Charge Airpods Pro Case with Wire: Here’s how to Keep Your AirPods…
- Your AirPods Pro Case Isn’t Resetting? Here’s How to Get It Done in Seconds
- How to Reset Airpods Pro Case: Easy Steps to Fix Connection Issues
- How to Turn on Airpods Pro without Case
- How to Connect Two Different Airpods Pro to One Case
- How to Charge Airpods Pro Without Case
