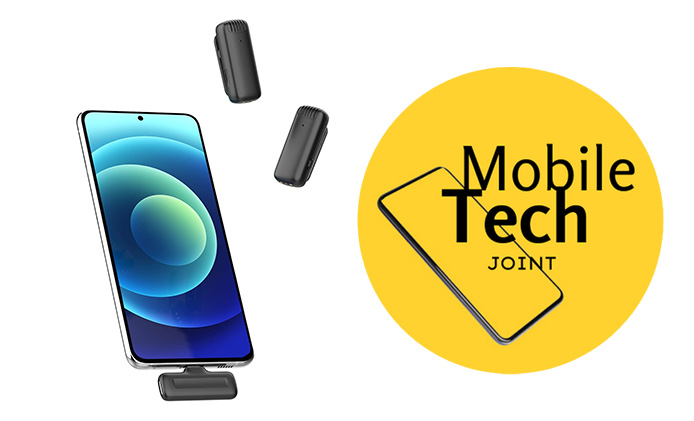
The Ulanzi Microphone is a high-quality audio device designed to enhance your recording experience, whether you’re a vlogger, interviewer, or musician. Featuring a sleek design, excellent sound clarity, and versatile connectivity options, this microphone is a valuable tool for achieving professional-grade audio. But unfortunately, most people are probably new to this tool and may have some struggle connecting and setting up the microphone. Thus, in this post, we will consider a guide on how to connect your Ulanzi Microphone, ensuring clear and crisp sound in all your recordings.

How to Connect Ulanzi Microphone
The Ulanzi Microphone is a high-quality audio device designed to elevate your recording experience. It boasts features such as superior sound clarity, versatile connectivity options, and user-friendly design. Ensuring you connect the microphone properly is crucial for achieving optimal audio performance in your videos or recordings. Here are the steps to follow:
Step 1: Unboxing the Ulanzi Microphone
When you receive your Ulanzi Microphone, the first step is to unbox it carefully. Inside the package, you will find the microphone itself, a windscreen, a mounting clip, a USB cable, and a user manual. Begin by removing all components from the box, taking care not to lose any small parts. Inspect each item to ensure it is in good condition and ready for use.
Step 2: Identifying the Connection Ports
The Ulanzi Microphone features several connection ports, which are essential for setting up and using the device. Typically, these include a USB port for power and data transfer, a 3.5mm audio jack for headphones, and possibly additional ports for external devices. Refer to the user manual for a detailed description of each port. A visual guide can be particularly helpful in locating and identifying these ports quickly.
Step 3: Connecting the Ulanzi Microphone to a Camera or Smartphone
To connect the Ulanzi Microphone to your camera or smartphone, follow these steps:
- Attach the windscreen to the microphone to reduce ambient noise.
- Use the mounting clip to secure the microphone to your camera or smartphone. Ensure it is positioned correctly and securely.
- Connect the USB cable from the microphone to your recording device. If you are using a smartphone, you may need an adapter to connect the USB cable.
- Verify that your device recognizes the microphone. Check the audio input settings on your device to ensure the Ulanzi Microphone is selected as the input source.
For common connection issues, ensure all cables are securely connected, and restart your device if necessary.
Step 4: Adjusting the Microphone Settings
Once connected, adjusting the microphone settings is vital for capturing high-quality audio. Most Ulanzi Microphones allow you to adjust the gain and directionality:
- Gain: Set the microphone gain to an appropriate level for your environment. Higher gain is suitable for quiet environments, while lower gain reduces distortion in louder settings.
- Directionality: Choose the appropriate pickup pattern based on your recording needs. Cardioid is ideal for single-source recording, while omnidirectional captures sound from all directions.
Experiment with different settings to find the optimal configuration for your specific recording environment.
Step 5: Testing the Microphone
After setting up and adjusting the microphone, it’s essential to test it to ensure everything is working correctly:
- Record a short audio clip to check the sound quality.
- Listen to the recording with headphones to monitor audio levels and clarity.
- Make any necessary adjustments to the gain and directionality settings.
- Repeat the testing process until you achieve the desired audio quality.
Conclusion
In summary, the Ulanzi Microphone is a powerful tool for enhancing your recording quality. By following the steps outlined in this guide, you can ensure a proper connection, optimal settings, and high-quality audio in your recordings. Experiment with different configurations and techniques to get the best results from your Ulanzi Microphone, and enjoy creating professional-grade content with ease.
Also Check:
- Ulanzi Zero f38 Quick Release Travel Tripod 3131: What Makes Ulanzi Zero f38 Tripod…
- Elevate Your Mobile Filmmaking with the AOCHUAN Smart XE 3-Axis Smartphone Foldable Gimbal
- Ulanzi Zero y Lightweight Travel Tripod 3028: The Perfect Travel Companion
- How to Open Ulanzi Tripod
- How to Use Ulanzi Tripod: Mastering Your Shots
Leave a Reply