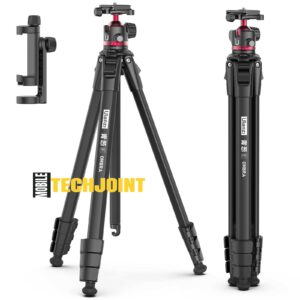
The Ulanzi Tripod is a versatile and reliable tool designed to enhance your photography and videography experience. Its sturdy build and user-friendly features make it an excellent choice for both amateurs and professionals. Here is a step-by-step guide on how to open and set up your tripod:
Step 1: Unpacking the Ulanzi Tripod
When you first receive your Ulanzi Tripod, it will come in a well-packaged box to protect it during transit. Carefully open the box and remove the tripod along with any included accessories or components. These might include items such as a carrying case, mounting plate, or additional attachments. Make sure to keep all components in a safe place to avoid losing any small parts.
Step 2: Understanding the Parts of the Ulanzi Tripod
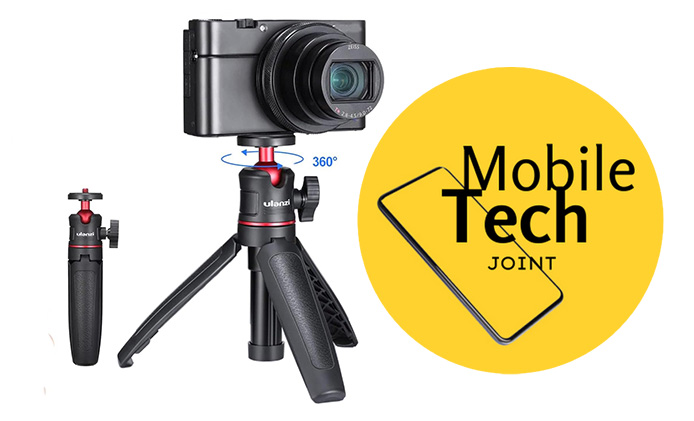
Before setting up the tripod, it’s essential to familiarize yourself with its parts. The main components include the tripod legs, center column, mounting plate, and any locking mechanisms. The legs provide stability, the center column allows for height adjustment, and the mounting plate is where you attach your camera or smartphone. Refer to any included visual guides or diagrams to get a clear understanding of each part and its function.
Step 3: Extending the Legs of the Ulanzi Tripod
To begin setting up your tripod, start by extending the legs. Unlock the legs by releasing any locking mechanisms, then pull them out to the desired height. Make sure the legs are evenly extended and securely locked back in place to ensure stability. A tip for added stability is to spread the legs as wide as possible, especially on uneven surfaces.
Step 4: Adjusting the Center Column
Next, adjust the center column if additional height is needed. Loosen the lock on the center column and raise or lower it to your preferred height. Once adjusted, tighten the lock to secure the column in place. It’s important to balance the tripod properly; avoid extending the center column too high, as it can make the tripod top-heavy and less stable.
Step 5: Mounting a Camera on the Ulanzi Tripod
Mounting your camera or smartphone onto the tripod’s mounting plate is a straightforward process. Begin by attaching the mounting plate to your camera’s base. Once securely attached, align the plate with the tripod head and lock it into place. Ensure that the camera is stable and all locks are tightened to prevent any movement during shooting. Double-check the stability by gently nudging the camera and tripod.
Conclusion
Setting up the Ulanzi Tripod correctly is a fundamental step to achieving stable and professional-quality shots. By following these steps—unpacking the tripod, understanding its parts, extending the legs, adjusting the center column, and securely mounting your camera—you can ensure your equipment is properly set up for any photography or videography task. Practice using the tripod to become more comfortable with its features and improve your overall skills. Happy shooting!