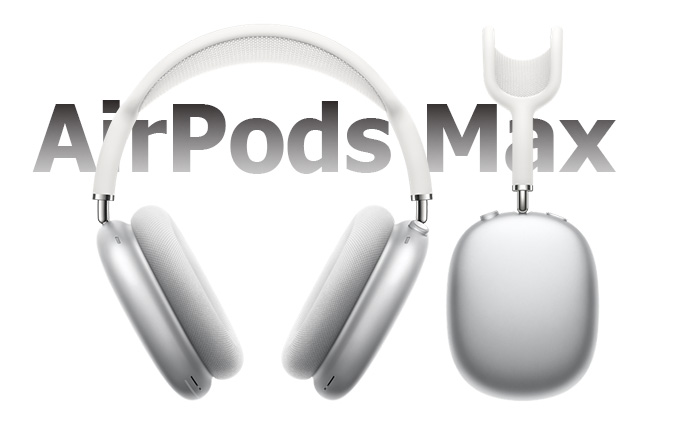
If you’re looking to use your AirPods Max with a PC, it’s a straightforward process despite these headphones being designed primarily for Apple devices. Here’s a detailed guide on how to pair your AirPods Max with your PC and enjoy high-quality sound on Windows.

How to Pair AirPods Max to a PC
While AirPods Max is designed to integrate seamlessly with Apple devices, it can also be paired with a PC running Windows, making it versatile for users who switch between ecosystems.
Pairing the AirPods Max with your PC is easy, allowing you to enjoy premium sound quality, Active Noise Cancellation (ANC), and Spatial Audio while working, gaming, or simply listening to music.
Here’s a step-by-step guide on how to pair AirPods Max to your PC:
Step 1: Enable Bluetooth on Your PC
Before pairing your AirPods Max, you need to make sure Bluetooth is enabled on your PC. Here’s how:
- Go to Settings by pressing the Windows key + I on your keyboard.
- Navigate to Devices, and under the Bluetooth & other devices section, make sure Bluetooth is toggled on.
Alternatively, you can use the Action Center by clicking the icon on the far-right corner of your taskbar. From there, you’ll see the Bluetooth icon; ensure it is turned on.
Step 2: Put AirPods Max in Pairing Mode
To connect your AirPods Max, you’ll need to enter pairing mode:
- Ensure your AirPods Max are outside of their Smart Case.
- Press and hold the Noise Control button (located on the right ear cup) until the LED light near the charging port begins flashing white. This indicates your AirPods Max are in pairing mode and ready to be connected.
Step 3: Add a New Device on Your PC
Once your AirPods Max are in pairing mode, return to your PC to complete the connection.
- In the Bluetooth & other devices section of Settings, click Add Bluetooth or other device.
- A new window will pop up—select Bluetooth from the list.
- Your PC will begin searching for nearby Bluetooth devices. Once your AirPods Max appear in the list as “AirPods Max,” click on them to initiate the pairing process.
Step 4: Complete the Pairing Process
After selecting your AirPods Max, wait a few moments for the connection to finalize. You’ll receive a notification that the devices are paired successfully. Now, your AirPods Max will act as your PC’s audio output.
Step 5: Setting AirPods Max as the Default Audio Device
To ensure your AirPods Max are set as the primary audio device:
- Right-click on the speaker icon in the bottom-right corner of your taskbar and select Open Sound settings.
- Under Output, choose AirPods Max as your default output device.
Step 6: Testing the Connection
To verify the pairing was successful, play some audio from your PC. Whether it’s music or a YouTube video, sound should stream directly through your AirPods Max. You can also adjust the volume or noise control directly on the headphones using the Digital Crown and Noise Control button.
Troubleshooting Common Issues
If you experience any connectivity problems or your PC doesn’t recognize the AirPods Max, try the following:
- Turn Bluetooth off and on again on your PC.
- Forget the AirPods Max from your Bluetooth devices list and attempt the pairing process again.
- Ensure your AirPods Max have sufficient battery charge, as low power could impact connectivity.
Final Thoughts
While AirPods Max are optimized for use with Apple devices, pairing them with a PC is a breeze thanks to Bluetooth. The high-quality sound and noise cancellation features still shine through, even when used on non-Apple platforms, allowing you to enjoy immersive audio experiences on your PC. Whether for work or leisure, your AirPods Max will deliver stellar performance.
Also Check:
- LG 55-Inch OLED EVO TV Review: A Smart TV with Stunning Visuals
- Insignia 32-Inch F20 Smart HD Fire TV: Affordable Full HD Performance with Smart Features
- AirPods Max Pro – Is It Really the Headphone You Actually Want? Here’s what we found after putting the AirPods Max Pro through its pace
- The iPhone 16 Pro is Here—But Should You Upgrade?
- Here’s What I Learned After Using the Hisense E6N Smart TV for a Month
